"...In the dance of sun and water and sky. In the faces of the people who need us most and of the people we most need. In the smell of breakfast cooking on a charcoal fire. Who knows where we will find Him or whether we will recognize Him if we do? Who knows anything even approaching the truth of who He really was? But my prayer is that we will all of us find Him somewhere, somehow, and that He will give us something of his life to fill our emptiness, something of his light to drive back our dark"
-The Great Dance -Frederick Buechner

Thursday, March 8, 2012

Painting projects

I have painting projects stacked up a mile high.  Nels has picked up a few sweet finds at Michael's lately so now I just need to find the time to paint them.  Molly and I are currently suffering from gross, horrible colds which means no sleep at night so painting has gone down a few notches on the priority list.

A few weeks ago we did manage to get a table painted for Nels' sister for her birthday.  We actually have another one to do for ourselves too.  I just love how it turned out and it looks sweet in her awesome new place.

Along with the table I had also picked up a little shelf and towel rack at jysk for the guest bathroom so those had to get painted as well.  Can I just talk about jysk for a second??  Sometimes you'll find stuff here that is quite overpriced and cheap quality but other times the stuff is phenomenal.  We found duvet covers and sheet sets for 30$ and curtains for super cheap too.  Even if you wanted to do some DIY projects and just needed fabric I would recommend checking it out.  I was really impressed.

So here are our 3 painting projects ready to go.  I didn't use a primer for any of them, just a few good coats of paint.  In the future I might even sand off the shelf and towel rack for more of a distressed look


We covered the table in Benjamin Moore Blue Nose and then I debated doing some sort of a design on top.  To keep it clean and simple we taped off the edge with painters tape and did 2 or 3 coats of Benjamin Moore Hawthorne Yellow over the blue


This is how it turned out...I think it looks super sweet.  The colours go well together so I'm trying to think of another colour combination I could do for the next table.  I actually liked it so much I'm considering doing a yellow top for our coffee table that I painted which you can see here


Here's the bathroom with our finished projects, you can kind of see where they are in relation to each other.  The shelf is above the toilet and the towel rack is next to the shower


Here's a close-up of the towel rack... i might need to fill those holes and paint over but for now I'm just glad there's a place for towels


I love this shelf!  So cheap and functional:)


Wednesday, March 7, 2012

Kitchen

We've been going through the thousands of pictures (seriously!) that we have on our external hard drive and its been so fun to see all the pics of the house building process.  I've decided to try to organize them all room by room so we can get a clear picture of progress we've made.  This has seriously been such a fun process and continues to be even as we work on the nit picky details of the finishing work.  

First room to see is the kitchen...

Here are the drawings our cupboard guys gave us... I was so excited to see what the kitchen would look like:)


Framing:  This is looking in from the living room.  The window to the left is where the sink is, the centre window is what we changed to our door and to the right is where the kitchen table is.


Here I am pregnant and happy that the cupboards are going in:)


inspecting...


And now here is a view from the four corners of the kitchen as it sits right now...  I'll update as we get back splash in etc...


Sunday, February 26, 2012

Use what ya got (Part 2)

Books.... I just love 'em.

Yes, they are nice to read and all but I also love decorating with my most favourite books.  I think decorating with books is a great way to use what you've got when decorating your house.

I'll always remember walking into my friend Heidi's house a few  years back and noticing that she had colour coated her books into piles in her living room shelf.  I was impressed!

Yes, I did colour coat my  books when I got home.  In our new place I went away from the colour coating and I just had my fave's on a bookshelf in the living room 

When I took the picture below to show our newly painted coffee table I noticed i really did not like the way my bookshelf was looking anymore.  It had to go


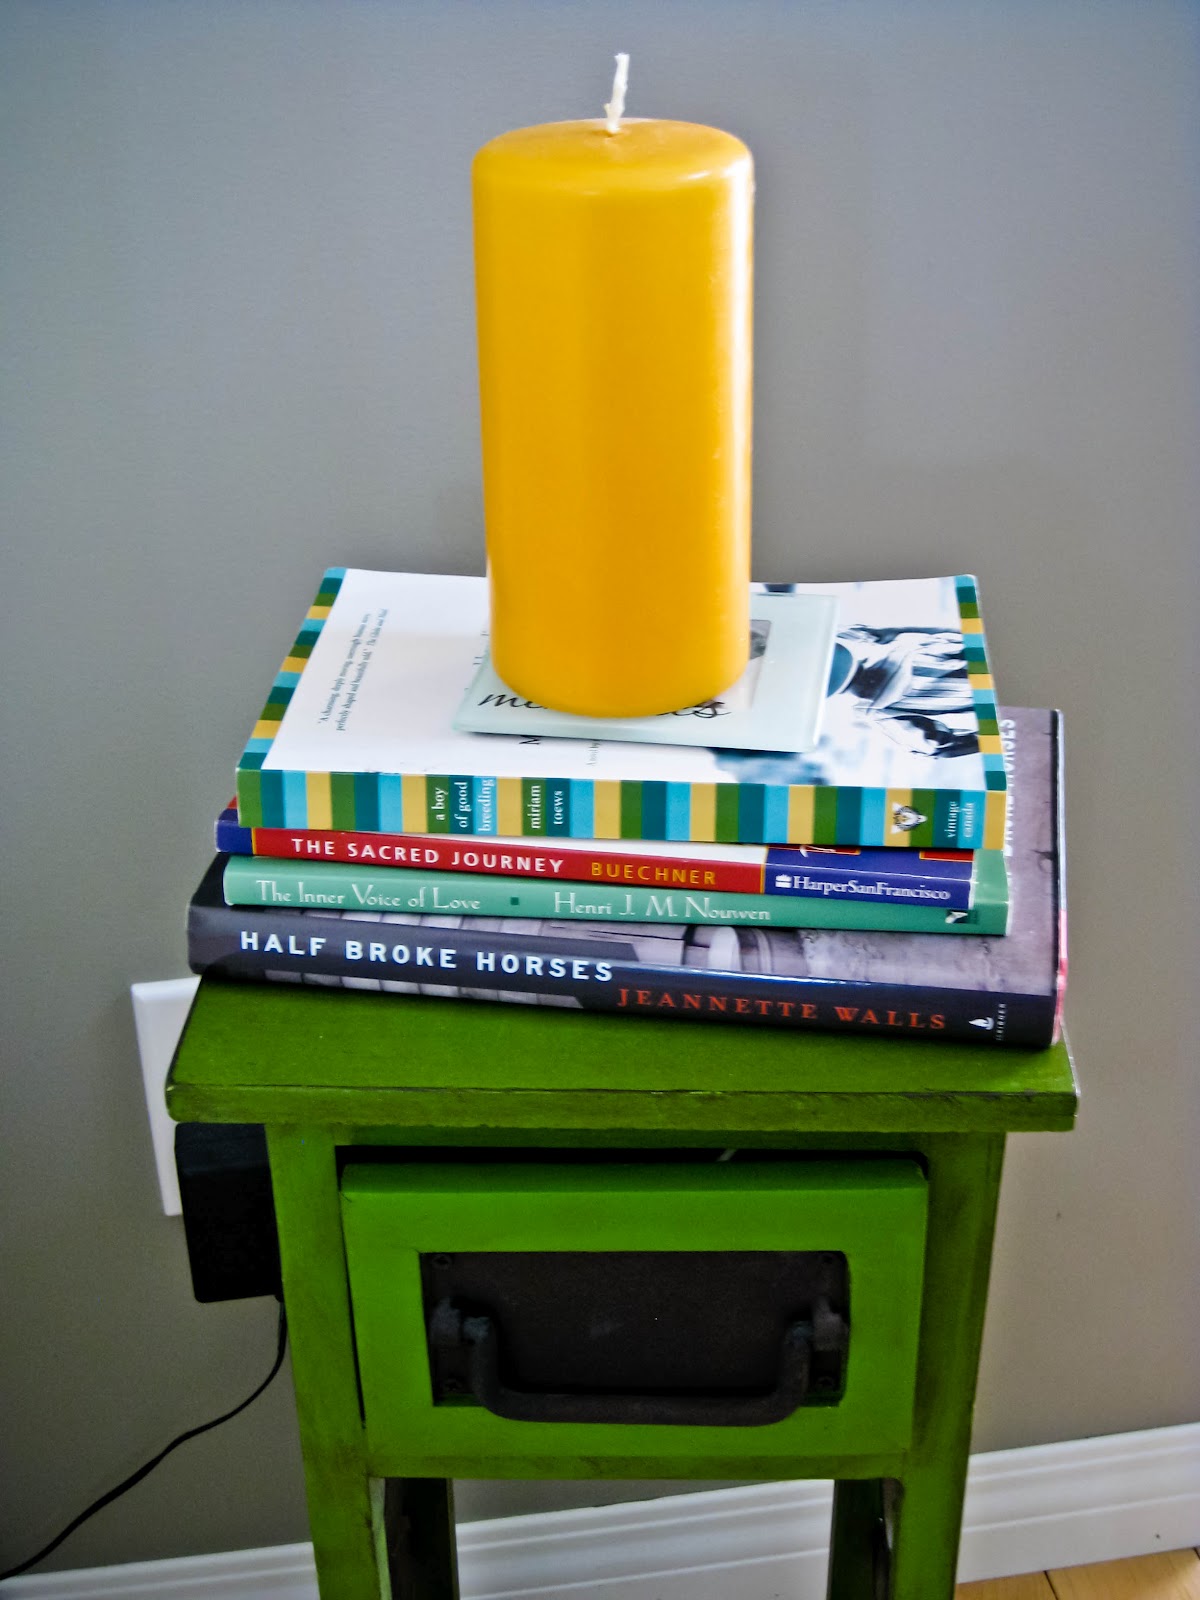
I chose a few of my favourite reads and stacked them up on this little table which now sits where the white bin in the pic above is (right side of armoire) and the white bin got moved to where the bookshelf is... looks much better.


Although a few lucky ones got to stay in the living room as decorations, the rest of the books ended up sitting on my old coffee table in the corner of the office (my office currently acts as a graveyard for many unused pieces of furniture).


I was ready to put them in a rubbermaid and store them in the basement but I couldn't bring myself to do it.  

Then I remembered our big open closet in the master bedroom and the fact that I had seen a really big, awesome bookshelf in one of the bathrooms in a house I was in recently and I thought it was the coolest thing ever.  I mean, who doesn't want to read a book in the bathroom right!?

So now here is where my books sit.  They all fit in there perfectly and I am happy that I don't have to store them and I love the way they look.

Another bonus... I'm trying to encourage Nelson to not use a different towel everyday so now that there is only one shelf of towels in our bathroom he's not as tempted... Less laundry and less towels laying all over the floor:)


Thursday, February 23, 2012

Use what ya got (part 1)

I'm cleaning out the office and finding many items that need homes so here's the first instalment of "use what ya got" as I try to make the office more user friendly while at the same time trying to fill some empty spaces around the house

This idea started with I pinned this onto pinterest awhile ago I've been wanting to make a few heart-map frames with our favourite places.

This is my first one and it is not perfect but it was good for an afternoon throw together project and I plan on adding a few more because I do have 2 more of these white frames hanging in Molly's room right now serving no great purpose at all.

I originally had some scrapbooking paper in the frame and then I added a quote.  After I printed that same quote out and hung in the stairwell it seemed like overkill to have two of them


slightly hard to see in this pic but I drew half of a heart on a folded piece of paper because I don't have a heart stencil


I used the cutout heart and traced it onto a white piece of scrapbook paper and then i put this map of Oahu under it


ta daa... there's the finished project sitting on the floating shelf in the kitchen.  You can see Honolulu, Pearl harbour etc... on the map and since Nels and I were in Oahu for our Honeymoon and then went back there with Molly this past January it has a special place in our hearts...hence the heart frame.  A special place in our hearts in a heart frame... how perfect right!?


of course because I'm a bit obsessive the frame changed spots many times throughout the day.  It ended up in the stairwell right near the front entrance.  Here's a few angles of it


opposite to it here is the framed printable of the quote "What I love most about my Home is who I share it with."  I'm looking forward to maybe adding another heart-map of Harrison (where we got married) and maybe Linden or Salmon Arm for the third.


Tuesday, February 21, 2012

Printables

If you've been to my house recently you've seen that I'm no stranger to developing free printables I find on the web.  I've also been working on making a few of my own which is fun.  These are such great ways to decorate for super cheap.  Here are my two favourites right now.  I developed them both at Costco and they turned out super well.  

"What I love most about my Home" print is from here.  I developed this one as an 11x17 and the resolution is super good


 The "Life is a Beautiful Ride" print is from here.  This one I just did as an 8x10 and it looks sweet even though it isn't framed yet


happy printing!!


Go-to chocolate chip cookie recipe

 My fave chocolate chip recipe.  The key is to make 'em with real butter (as opposed to margarine) and use the good vanilla from Mexico.  So easy to make and sooo good!

These ones I rolled out for Valentines day cookies but usually I just make them as a drop cookie.

Cream together:
1 cup butter
1/2 cup white sugar
1 cup brown sugar

Add the following the creamed mixture and mix:
1 tsp vanilla
2 eggs

Combine the following 3 ingredients in a separate bowl:
2 1/2 cups flour
1 tsp baking soda
1 tsp salt

Add flour mixture to creamed mixture and mix until incorporated

Fold in 2 cups chocolate chips

Bake at 350 for 8-10 minutes


Sunday, February 12, 2012

Peanut Yam Soup

One of my favourite soups... and pretty much the only thing I could keep down during the first trimester  of my pregnancy:)

1 garlic bulb
4 small unpeeled yams (2 1/2 lbs)

175 ml unsalted roasted peanuts

15 ml cooking oil
375 ml chopped onion

5 ml ground cumin
5 ml coriander
2 ml salt
1 ml pepper
1 ml cayenne pepper

1.5 L chicken stock
398 ml diced tomatoes (with juice)
398 ml can of chickpeas

Trim 1/4 inch from garlic bulb to expose tops of cloves, leaving bulb intact.  Wrap loosely in greased foil. Place on ungreased baking sheet.  Place yams on same baking sheet.  Bake in 375'F oven for 45 minutes until garlic and yams are tender.  Let stand until cool enough to handle.  Squeeze garlic bomb to remove cloves from peel.  Discard peel.  Place cloves in medium bowl.  Cut yams in half.  Scoop yam from peel to same medium bowl.  Discard peel

Process peanuts in blender or food processor until very finely chopped.  Add to yam mixture.  Mash with fork.  Set aside

Heat cooking oil in large pot on medium heat.  Add onion.  Cook 5-10 minutes, stirring often until softened.

Add next 5 ingredients.  Stir.  Cook for about 5 minutes, stirring often, until onion is golden.

Add yam mixture and remaining 3 ingredients.  stir.   Bring to a boil.  Reduce heat to medium-low.  Simmer, partially covered, for 15 minutes, stirring occasional, to blend flavours.  Carefully process with hand blender or in blender until smooth (make sure you check blender manufacturers instructions for processing HOT liquids)

Enjoy... it is soooo good and freezes really well.

I found this pic on the web.. looks almost identical to the soup.
If you puree it more it would be smoother